#1
Creating a new project and adding sheets
Description
In this tutorial, you will learn how to create a project and add sheets to it.
Topics Covered
Create project, add project, new project, create sheet, add sheet, new sheet
Video Version
Related Tutorials
- User interface overview (6:32)
- Creating new sheet sizes (1:00)
- Creating a new title block (9:09)
Written Version
Creating a project
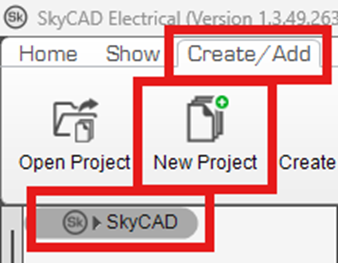
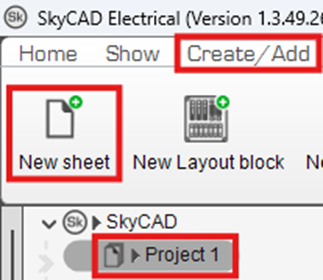
To create a project, select SkyCAD in the tree view, go to the Create/Add tab and select New Project:
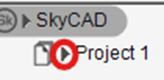
A new project is created and named Project 1.
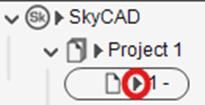
To expand its properties, select the dark triangle beside the project icon:
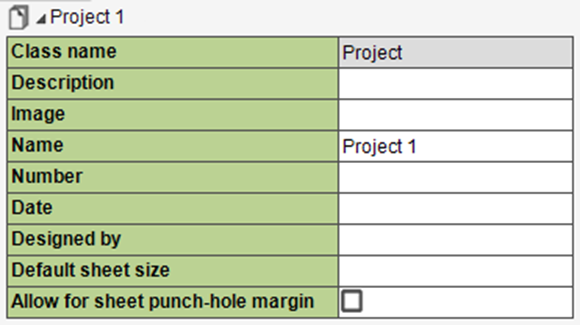
Once the properties are expanded, you can change properties, including the Name, as you wish.
If you intend all the sheets in your project to be the same size, set the Default sheet size property accordingly.
To collapse the properties, select the dark triangle beside the project icon again.
Adding sheets
To add sheets, select the project in the tree view, go to the Create/Add tab and select New Sheet (hold SHIFT to add multiple sheets):
If you set a Default sheet size in the project properties, a sheet of that size will be added to the project.
If you did not set a Default sheet size in the project properties, a window will pop up with sheet sizes to choose from:
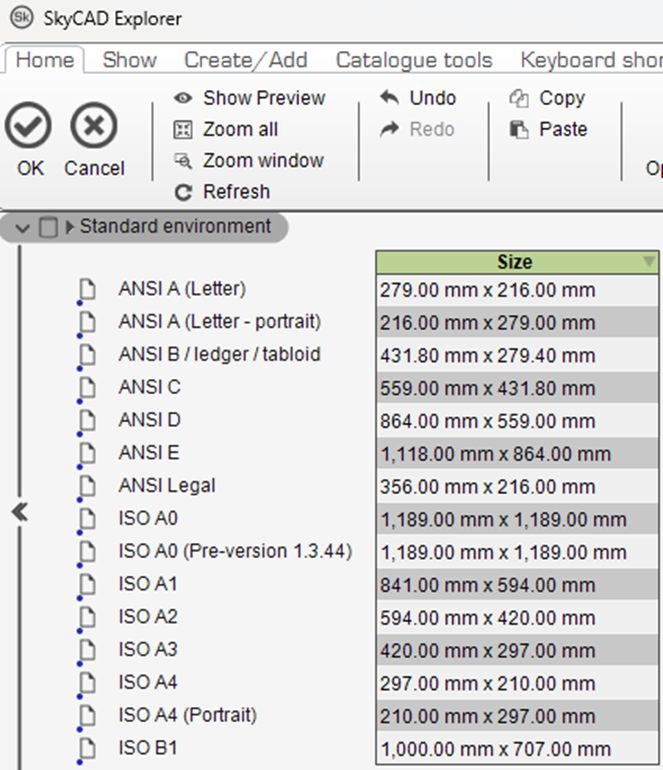
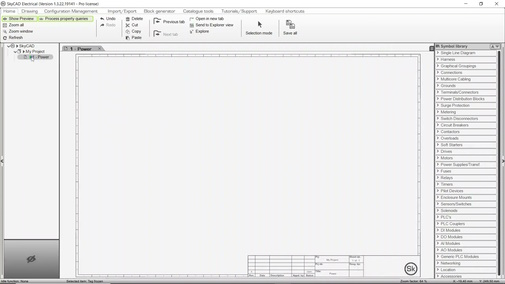
Choose the sheet size you want and click OK to add the sheet to the project and have it opened in the main view tab area.
(If you don’t find your desired sheet size, follow this tutorial to add it.)
Once the sheet is created, you can expand the properties of the sheet by clicking on the dark triangle:
Once you’ve expanded the properties, edit the Title property to change the name of the sheet.
To change the size of an existing sheet in your project, select the sheet in the project, go to the Home tab, select Change sheet size, choose the new sheet size you want and click OK.
Related Tutorials
- User interface overview (6:32)
- Creating new sheet sizes (1:00)
- Creating a new title block (9:09)