Creating graphical groupings
#1
Creating graphical groupings
Description
This tutorial covers how to create graphical groupings.
Graphical groupings are portions of schematics, such as a complete circuit, that are saved to the symbol library and can be inserted onto a sheet.
Topics covered
Create graphical grouping, new symbol, set of components, insertion point, add to library, library icon size, part numbers.
Video version
NOTE: This tutorial video was created using an older version of SkyCAD.
Ribbon buttons' appearance and positions may differ if you're using version 1.3.25 or higher.
Thank you for your patience while we update this tutorial.
Related tutorials
- Assigning part numbers (2:23)
- Inserting connections (2:42)
- Inserting symbols (2:09)
- Creating/modifying symbols and blocks (6:36)
- Drawing tools overview (9:31)
Written version
Introduction
Graphical groupings are portions of schematics, such as a complete circuit, that are saved to the symbol library and can be inserted onto a sheet.
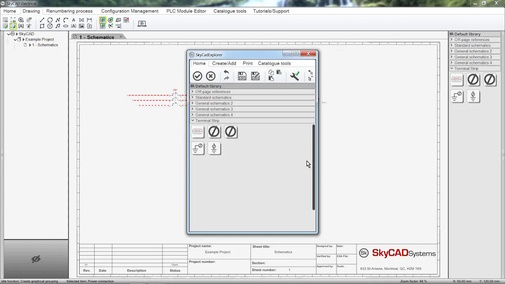
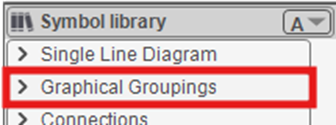
You can see examples of this in the Graphical Groupings symbol library folder.
Creating a graphical grouping
To create a graphical grouping:
- Insert the desired symbols onto a sheet (if catalogue parts are assigned to components, that will be remembered when using the graphical grouping in future)
- Select those symbols on the sheet
- Go to the Drawing tab and select Create graphical grouping
- When prompted to define an insertion point, click OK, then click to define the desired insertion point.
(The insertion point is where the mouse cursor “grabs” the symbol when preparing to insert it onto a sheet from the symbol library.) - Name the graphical grouping and click Save
- Specify into which symbol library folder you would like to save the graphical grouping
After you insert the graphical grouping, you can modify it in the project to suit your needs.
This will not affect the saved graphical grouping in the symbol library.
Modifying a saved graphical grouping
There are two ways to modify a saved graphical grouping:
- In-context
- Using Open Block
In-context
- Insert the graphical grouping onto a sheet
- Modify it as you wish
- Go to the Drawing tab and select Create graphical grouping
- Define insertion point
- Name the graphical grouping the same as the original and click Save to overwrite the file
Using Open Block
- Right-click on the graphical grouping in the symbol library and choose Open Block
- Modify it as you wish
- Close the tab (named after the graphical grouping), saving the changes when prompted
Related tutorials
- Assigning part numbers (2:23)
- Inserting connections (2:42)
- Inserting symbols (2:09)
- Creating/modifying symbols and blocks (6:36)
- Drawing tools overview (9:31)